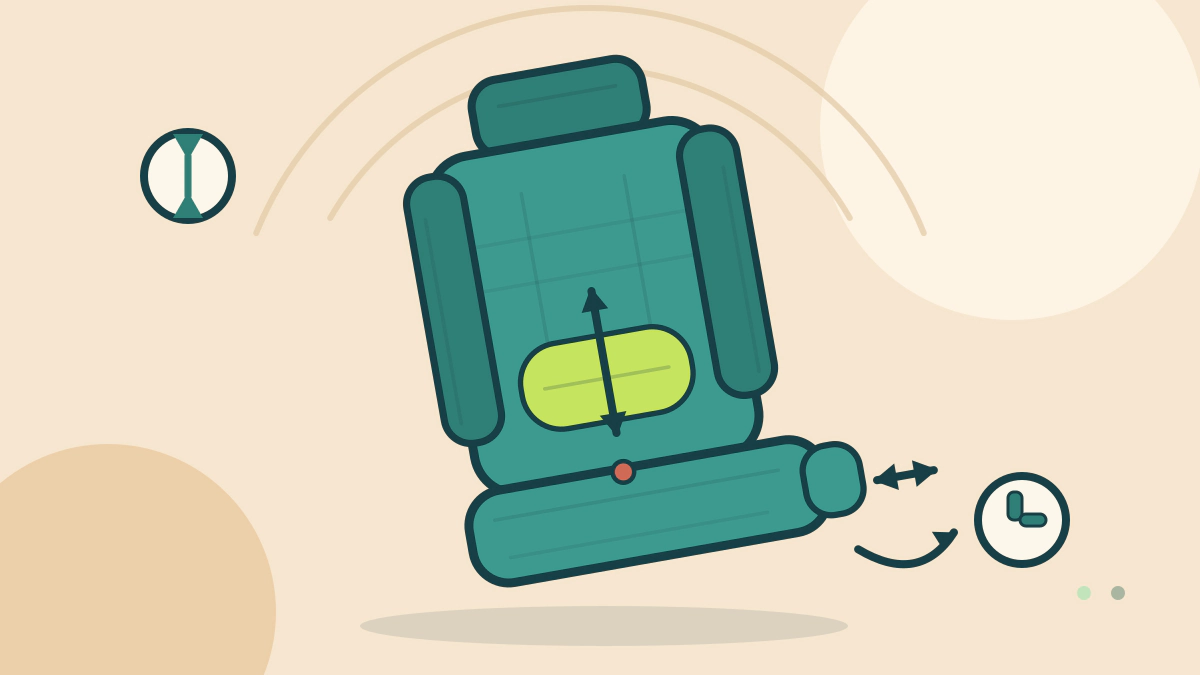
Use seat adjustment, cushion length, belt fit and head restraint position to judge comfort on a test drive, without guessing from showroom softness.
How should you judge a seat for back and hip comfort?
Judge a seat by whether it adjusts into an upright, supported position and lets the belt and head restraint fit, not by how soft it feels in the first minute. A cushion that feels plush on a short sit can lack support on a longer drive.
Honda’s 2023 CR-V owner’s manual lists height adjustment, seat-back angle and lumbar support as separate controls. Use each one before deciding a seat is uncomfortable, because the position a dealer leaves it in is rarely the best one for your body.
Set the driving position first
Start with the seat-back fairly upright and your back against the cushion. Move the seat forward until you can press the pedals fully without stretching, then adjust the wheel so your arms keep a slight bend. The Honda manual describes the same sequence and warns against adjusting the seat while driving.
Keep at least 10 inches between your breastbone and the center of the steering wheel, as NHTSA recommends. If you cannot reach the pedals and keep that gap, the seat or the pedals do not fit you, however comfortable the cushion feels. If adjustment cannot close the gap, ask about adaptive driving controls.
Check cushion length and thigh support
Sit all the way back, then notice where the front edge of the cushion meets your leg. A cushion that stops well short of the back of your knee leaves the thigh unsupported. One that presses into the back of the knee can restrict movement and make you shift constantly.
Some seats include an adjustable cushion-length section that slides forward or back. Test it in both positions. Cushion tilt matters too: raising the front edge changes the angle of your hips, while lowering it can reduce pressure under the thigh.
Adjust lumbar support in small steps
Lumbar controls change the curve of the lower seat-back. Start at the lowest setting, sit back, then add support until the seat fills the gap above your belt line without pushing your shoulders forward.
Honda fits a lumbar support switch on some trims and notes that it may not be available on every model. If a seat has no lumbar control, check whether the fixed shape suits you before you consider an aftermarket cushion.
Confirm the belt, covers and cushions still fit
IIHS says a properly fitted shoulder belt lies snugly across the center of the chest and shoulder, not on the neck or face and not falling off the shoulder. The lap belt should sit low on the hips or upper thighs, not across the belly.
Many cars have an adjustable upper anchor, sometimes called a D-ring, that raises or lowers the shoulder belt. Move it and recheck the fit. If the belt is too short, IIHS notes that a manufacturer-supplied belt extender may be available; ask the dealer rather than buying a generic one.
Recheck belt fit after every seat adjustment. A reclined seat-back can pull the shoulder belt away from your chest, which the Honda manual says reduces the belt’s protective capability.
Honda also warns against placing a cushion between an occupant and the seat-back, because it can interfere with proper posture, the seat belt and the head restraint. It warns against objects under the front seats that could jam the seat tracks.
If you use a seat cover, check that it does not block a side air bag; the seat cover compatibility guide explains what to look for. Fix the seat position first, then see the family and accessible vehicles hub for related fit and restraint guides before adding accessories.
Put the head restraint in the right place
Set the head restraint so its top is at least as high as the top of your ears, and as close to the back of your head as the seat allows. IIHS based its seat ratings on head restraint height and backset, which is the distance from the back of the head to the restraint.
Honda’s manual puts it another way: the tops of your ears should be level with the center height of the restraint. Raise or lower it after you set the seat-back angle, because reclining changes the gap.
What to test on a test drive
| Feature | What to test | Why it matters |
|---|---|---|
| Height adjustment | Raise and lower through the full range | Changes hip angle, view and distance to the wheel |
| Cushion length | Check support under the thigh and clearance behind the knee | Short cushions leave the thigh unsupported |
| Cushion tilt | Raise and lower the front edge | Alters hip angle and pressure along the thigh |
| Lumbar support | Add and remove support in small steps | Too much pushes the shoulders forward |
| Seat-back angle | Sit upright and reach the wheel | Reclining weakens belt fit |
| Head restraint | Top at ear height or higher, close to the head | Limits head movement in a rear impact |
Frequently asked questions
Is a firmer seat better for back comfort?
Firmness is personal, and a short sit tells you little. Support, adjustability and belt fit matter more than the first impression, so judge the seat after at least an hour in the position you will actually use.
Does lumbar support help hip comfort?
It changes the curve of the lower back, which can change how your hips sit in the cushion. Adjust it in small steps and keep it low enough that your shoulders stay against the seat-back.
Can an aftermarket cushion fix an uncomfortable seat?
Sometimes, but it changes your height, your reach and the belt path. Try the built-in adjustments first, and avoid putting anything thick between your back and the seat-back.
How long should a test drive be?
Long enough to include the roads and speeds you drive most, plus a stop and restart. A route with a few turns, a highway merge and a parking maneuver tests more than a straight loop.