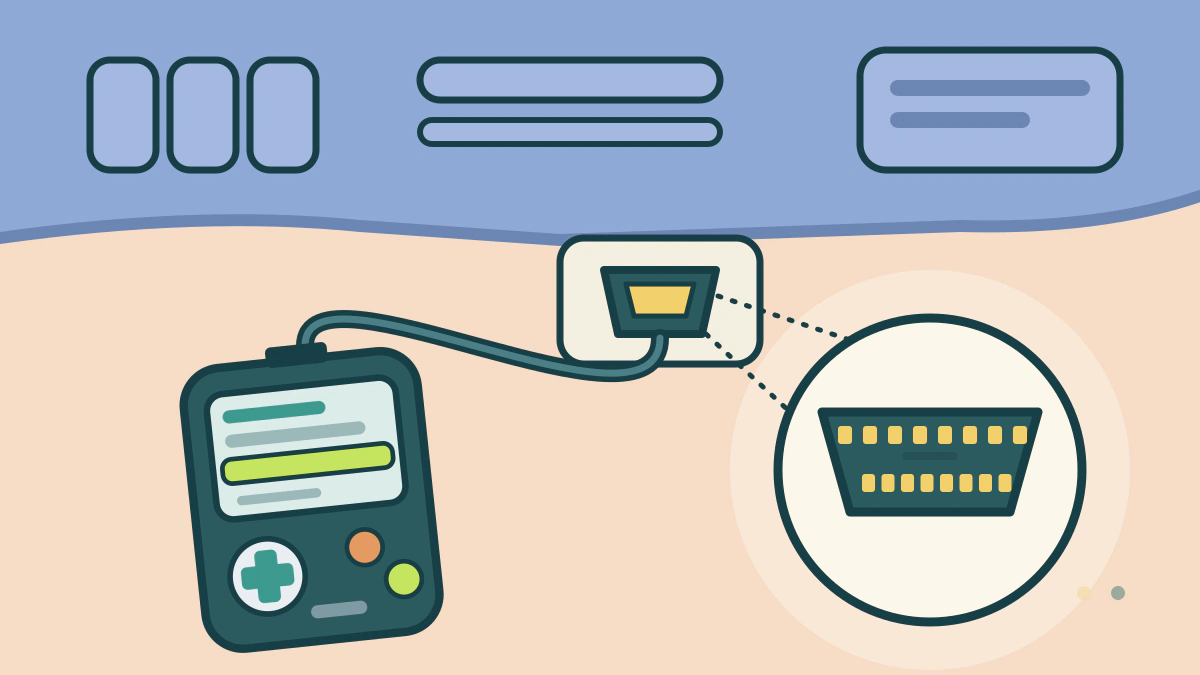
Find the OBD-II connector, plug in a scanner, read the codes and readiness status, and record what you see before you clear anything or buy a part.
Find the connector before you buy or borrow a scanner
An OBD-II scanner plugs into the car’s standard diagnostic connector, so confirm your vehicle has OBD II and find that connector first. CARB says all 1996 and newer gasoline and alternate-fuel cars and trucks must have OBD II. Diesels need it from the 1997 model year. The words “OBD II” appear on the emission control label under the hood.
California’s OBD rules describe where the connector must be. It sits in the driver’s side foot-well area, no higher than the bottom of the steering wheel. It may not be in the center console. If a cover hides it, you must be able to remove the cover by hand, and the cover must be labeled. Ohio EPA describes the connector as usually under the dash.
If you cannot find it, check the owner’s manual for your model year. Do not pry at panels or pull wiring to look for it.
Connect the scanner and read the codes
Follow your scanner maker’s instructions first. The Ohio EPA describes how its E-Check testers connect, and the order is a sound model.
- Turn the ignition off and plug the scanner into the connector.
- Turn the ignition to on without starting the engine. Ohio calls this key on, engine off. The check engine light should come on as a bulb check.
- Let the scanner establish communication. Ohio notes that vehicles use different communication protocols, so a scanner may need the right one selected.
- Read the light status, the stored codes and the readiness monitors.
- Write everything down, then unplug the scanner.
Federal inspection procedure follows a similar path. Under 40 CFR 85.2222, the tester plugs in, requests the status information and, if the light is commanded on, requests the stored codes.
What the scanner screens can show
Not every scanner shows every item. Check your tool’s instructions for what it supports. This table lists items the sources describe.
| Item | What it tells you | Where it is described |
|---|---|---|
| Light (MIL) status | Whether the computer is commanding the check engine light on | eCFR 85.2222, BAR |
| Stored codes | Codes that caused the light to come on | eCFR 85.2222 |
| Pending codes | A fault seen once, before the light comes on | California 13 CCR 1968.2 |
| Freeze frame | Conditions recorded when the fault was detected | California 13 CCR 1968.2 |
| Readiness monitors | Which self-tests have finished | Ohio EPA, BAR |
| Permanent codes | Codes a scan tool cannot clear | BAR |
For what the letters and digits in a code mean, see How to Read a Diagnostic Trouble Code.
Code readers versus full scan tools
Basic code readers and full scan tools do different jobs. Ohio EPA says a tool that can only read codes usually will not diagnose a communication failure. It explains that code readers query only active codes and do not use all the pins needed for emissions testing.
A reader may be enough to see why the light is on. For deeper work, check what your tool displays.
Record first, clear later
Ohio EPA advises that, if possible, you should not clear the codes while working on a check engine light problem. If the repair was correct, the light turns off by itself while you drive. Clearing also resets the readiness monitors, which matters if an inspection is coming. Why Clearing a Check Engine Light Does Not Fix the Problem explains this in detail.
Treat the code as a starting point. Confirm the diagnosis in the manufacturer’s service information. If the light is flashing, read Flashing vs Steady Check Engine Light before you keep driving. For work you are unsure about, see When a Car Repair Is Not Safe to Do Yourself. More guides are in the DIY Car Repair hub.
When the scanner will not connect
A scanner that cannot connect does not always mean a bad scanner. Ohio EPA lists these starting points for communication failures:
- Loose pins in the connector
- No power or no ground at the connector
- A warped or stiff connector
- Corrosion or debris in the connector
- Out-of-date software flashes on the vehicle’s computers
- Other computers failing
- Aftermarket accessories, such as a radio, alarm or remote start
Ohio EPA says its test also needs ground at pin 5 and battery voltage at pin 16. The California BAR adds a damaged connector or wiring and an aftermarket stereo to its own list of reasons for no communication. If your scanner stays blank, a repair shop can test the power and ground safely.
Frequently asked questions
Will the scanner tell me which part to replace?
No. A code names a system or condition. California’s rule says the stored code should point to the likely cause as far as possible, which is a starting point for testing. Confirm with service information before you buy a part.
Does the engine need to be running?
It depends on the scanner and the information you want. Ohio’s testers connect with the ignition off, turn it on without starting the engine, then run the engine for the rest of the test. Follow your scanner’s instructions.
Will a scanner work on any car?
It works on vehicles with OBD II, which CARB says covers 1996 and newer gasoline and alternate-fuel vehicles and 1997 and newer diesels. CARB adds that only a small number of 1994 and 1995 gasoline models had it earlier. Check for the OBD II wording on the emission label.
Should I clear the code after I read it?
Not right away. Ohio EPA says that after a correct repair the light usually goes out by itself, and clearing resets the readiness monitors. Record the codes first and clear them only when a repair is done.