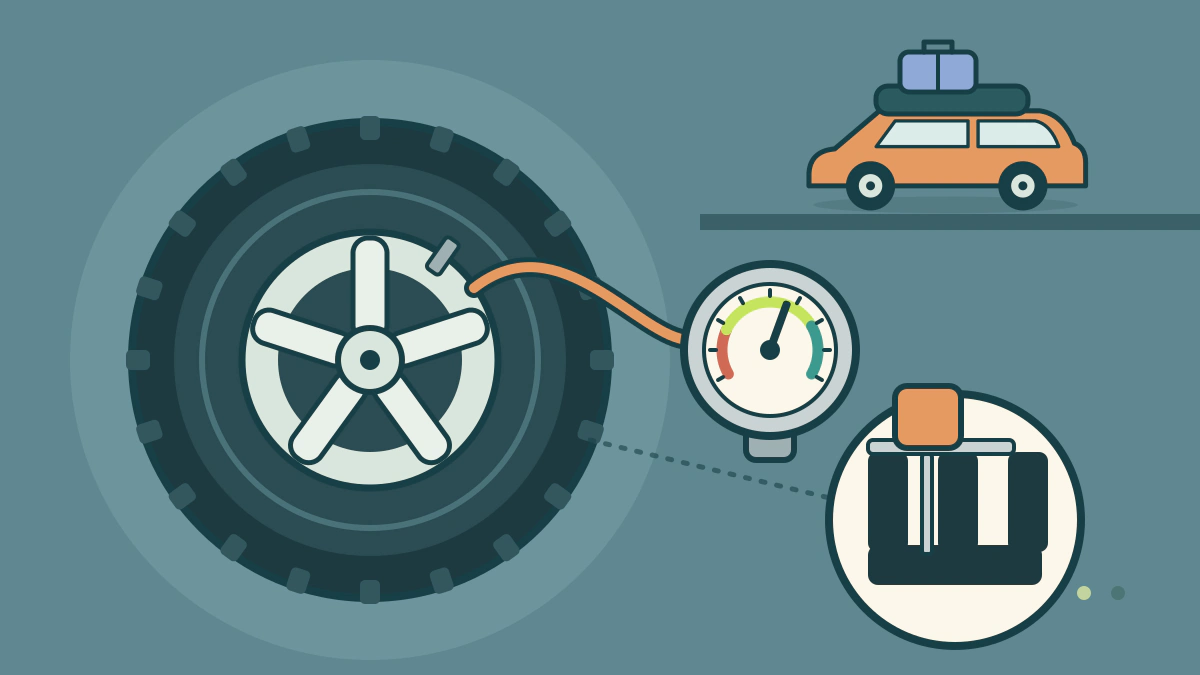
Check cold pressure from the door placard, tread depth, sidewall damage, the DOT date code and the spare, using NHTSA guidance, before a long drive.
How do you inspect your tires before a road trip?
Check the pressure of every tire, including the spare, when the tires are cold; measure tread depth; look over each tire for damage; read the DOT date code; and confirm you carry a spare and jack kit. NHTSA says to check for damage at least once a month and before long road trips.
This guide is for your own car, a few days before you leave. For a car you might buy, use how to inspect tires on a used car. More first-time jobs are in the DIY Car Repair hub.
The facts below come from NHTSA’s tire and summer driving pages.
Start with cold pressure and the door placard
Begin with the pressure. NHTSA says underinflation is the leading cause of tire failure, and that all tires lose some air over time.
NHTSA defines “cold” as a car that has not been driven for at least three hours. Check before you leave, not after the first leg of the trip.
Find the right number on the Tire and Loading Information Label. It is on the driver’s door edge or the door post (the B-pillar). It is also in the owner’s manual.
Do not use the number molded into the tire. NHTSA says that figure is the maximum the tire can hold, not the recommended pressure. See the placard versus sidewall comparison.
NHTSA’s steps: read the recommended pressure, check every tire including the spare, release air slowly from any tire that is too high, and add the missing pounds to any that are too low. Then confirm the tires match, unless front and rear are meant to differ.
If you must add air to a warm tire, NHTSA says to fill it to the recommended cold pressure and recheck when cold.
Measure tread depth with a penny
NHTSA says tires are not safe and should be replaced when the tread wears down to 2/32 of an inch.
For the penny test, place a penny in the tread with Lincoln’s head upside down and facing you. If you can see the top of his head, replace the tire.
Test several spots on every tire. NHTSA links irregular wear to underinflation or overloading. See uneven tire wear patterns for what different patterns can mean.
Scan the tread and sidewalls for damage
NHTSA lists the damage to look for: cuts, punctures, bulges, scrapes, cracks and bumps in the tread and sidewalls. It says to stop using a tire with physical damage.
Check each tire from both sides and look for objects stuck in the tread.
Read the DOT date code
Tires age, even when the tread looks fine. NHTSA says you cannot detect tire aging simply by looking at the tire.
Find the DOT Tire Identification Number on the sidewall. The last four digits show the week and year of manufacture. For example, 0308 means the third week of 2008. NHTSA adds that the number may be on only one side, so check both.
Some vehicle and tire makers recommend replacing tires at six to 10 years old regardless of treadwear. NHTSA warns that aging is a bigger concern for vehicles that are not driven regularly or that have low annual mileage.
NHTSA’s recalls page also lets you search tires for safety recalls. Have the brand and DOT number ready.
Check the spare and the jack kit
Spare tires age too, because they are seldom replaced. Check the spare with the others.
The summer driving page also says to make sure you have a spare tire and car jack kit. Confirm they are in the cargo area. If your car carries something else, check the owner’s manual.
A quick pre-trip tire table
Use this table as a one-page checklist.
| Check | How | Act before leaving if |
|---|---|---|
| Pressure | Gauge, tires cold, placard value | Any tire, including the spare, is off the placard number |
| Tread depth | Penny in the groove | The top of Lincoln’s head is visible |
| Damage | Look at tread and both sidewalls | You find a cut, bulge, crack or puncture |
| Date code | Last four digits of the DOT number | The tire is old, or you cannot find a date |
| Spare and jack | Look in the cargo area | The spare is flat, damaged or missing |
What the warning light does and does not tell you
Cars from model year 2008 onward carry a tire pressure monitoring system. A lit symbol means at least one tire is already significantly underinflated.
NHTSA says the system is not a substitute for regular tire maintenance. The symbol can also come on briefly and turn off on cold mornings. If that happens, check the pressure.
For a wider vehicle review, pair this check with the pre-road-trip inspection checklist.
Frequently asked questions
When should I check my tires before a road trip?
Do it a few days ahead so you have time to replace a tire. Then recheck the pressure on the morning you leave, while the tires are still cold.
Which tire pressure should I use for a road trip?
Use the number on the Tire and Loading Information Label or in the owner’s manual. Do not use the maximum pressure molded into the tire sidewall.
How do I tell if a tire is too old?
Read the last four digits of the DOT number to find the week and year it was made. NHTSA notes that some manufacturers recommend replacement at six to 10 years. You cannot judge age by sight alone.
What should I do if I find a bulge or cut?
Do not drive long distances on the tire. NHTSA lists cuts, cracks and bulges among the reasons to stop using a tire. Have a qualified tire technician inspect it before you leave.